<p>This is the article I wrote regarding the problem you have If you want to talk about anything in this ask the editor for my phone details and you can call me.</p>
<p>About this time last year, I was moving my boat from the driveway to inside the garage to carry out a few checks ready for the start of the new season. </p>
<p>It was at this time noticed a sloshing sound coming from inside my boat, but on inspection I couldn’t see any signs of water in the cockpit area!</p>
<p>My heart sank when I realised the noise of the water sloshing around was coming from in-between the hulls and on further investigation I managed to extract over 5 litres of water from between the hulls. This was done by propping the bow up and pumping the water out through the inspection hatch in the transom using a small pond pump.</p>
<p>At this point I contacted my boat builder and was told they would be able to look at my dinghy sometime towards the end of the year. </p>
<p>But if I was to attempt to repair the problem myself, I would need to pressure test the hull to find out where the problem was located. But there was no advice or instructions on how to achieve this required “pressure test”.</p>
<p>At this point I did consider filling between the hulls with water and looking for where the water was leaking out. But I don’t think that would have been a good idea, what with the weight of water required to fill between the hulls.</p>
<p>This is when I sat down with a ‘wee dram’ of my favourite Whisky waiting for a lightbulb moment and when I came up with the idea of drilling a hole through wooden stopper and cork from my bottle of whisky and fitting a car tyre valve through the hole in the cork stopper. I could then fit it in the drain hole on the transom of my dinghy and carry out the test.</p>
<p>The first job was to finish my bottle of whisky. It’s no good having a bottle of whisky without a stopper and I needed that stopper! </p>
<p>Now having the stopper, I needed a valve to make this all work, so a quick visit to my local ATS branch solved this problem (other tyre stockist are available). </p>
<p>I was given a couple of car tyre valves FOC! (I must be a good customer).</p>
<p>The cork was cut down in length to approximately the depth of the bung hole and a hole drilled through the cork and the wooden top. Then with a small amount of silicone adhesive applied to the hole the valve was fitted into the cork. This was allowed to set overnight, time for another wee dram!</p>
<p>The next step was to fit my new “valve bung”, so with a quick wipe of petroleum jelly around the cork and bung hole to ease the cork into place it was inserted and screwed up tight. </p>
<p>I was now ready to “pressure test” the hulls of my dinghy. </p>
<p>I made sure the other main inspection hatch was sealed up and started to pump air into the void between the hulls using my car tyre foot pump. </p>
<p>After just a couple of pumps of the tyre pump, I heard a frightening “boing” as part of the inner hull flexed, showing I ‘did’ have a higher pressure inside the hulls than outside and with a quiet walk around my boat, I could hear air escaping from somewhere underneath the hull. </p>
<p>This was tracked down to the port side self bailer. So I removed the bailer and gasket and started to narrow down the point where the leak was. </p>
<p>This is easily done using the old gas leak detection method of soapy water and looking for the bubbles. (It’s simple and works well, I used a small spray bottle and a solution of washing up liquid and warm water, see photo)</p>
<p>Once this was found I cleaned out the gap between the two hulls and made it ready to be repaired.</p>
<p>After contacting my boat builder I was advised to use a 2 part polyester adhesive, which I ordered up and with the addition of couple of syringes from a local pharmacy to help me get the adhesive into the right places the job was well on the way to being sorted. </p>
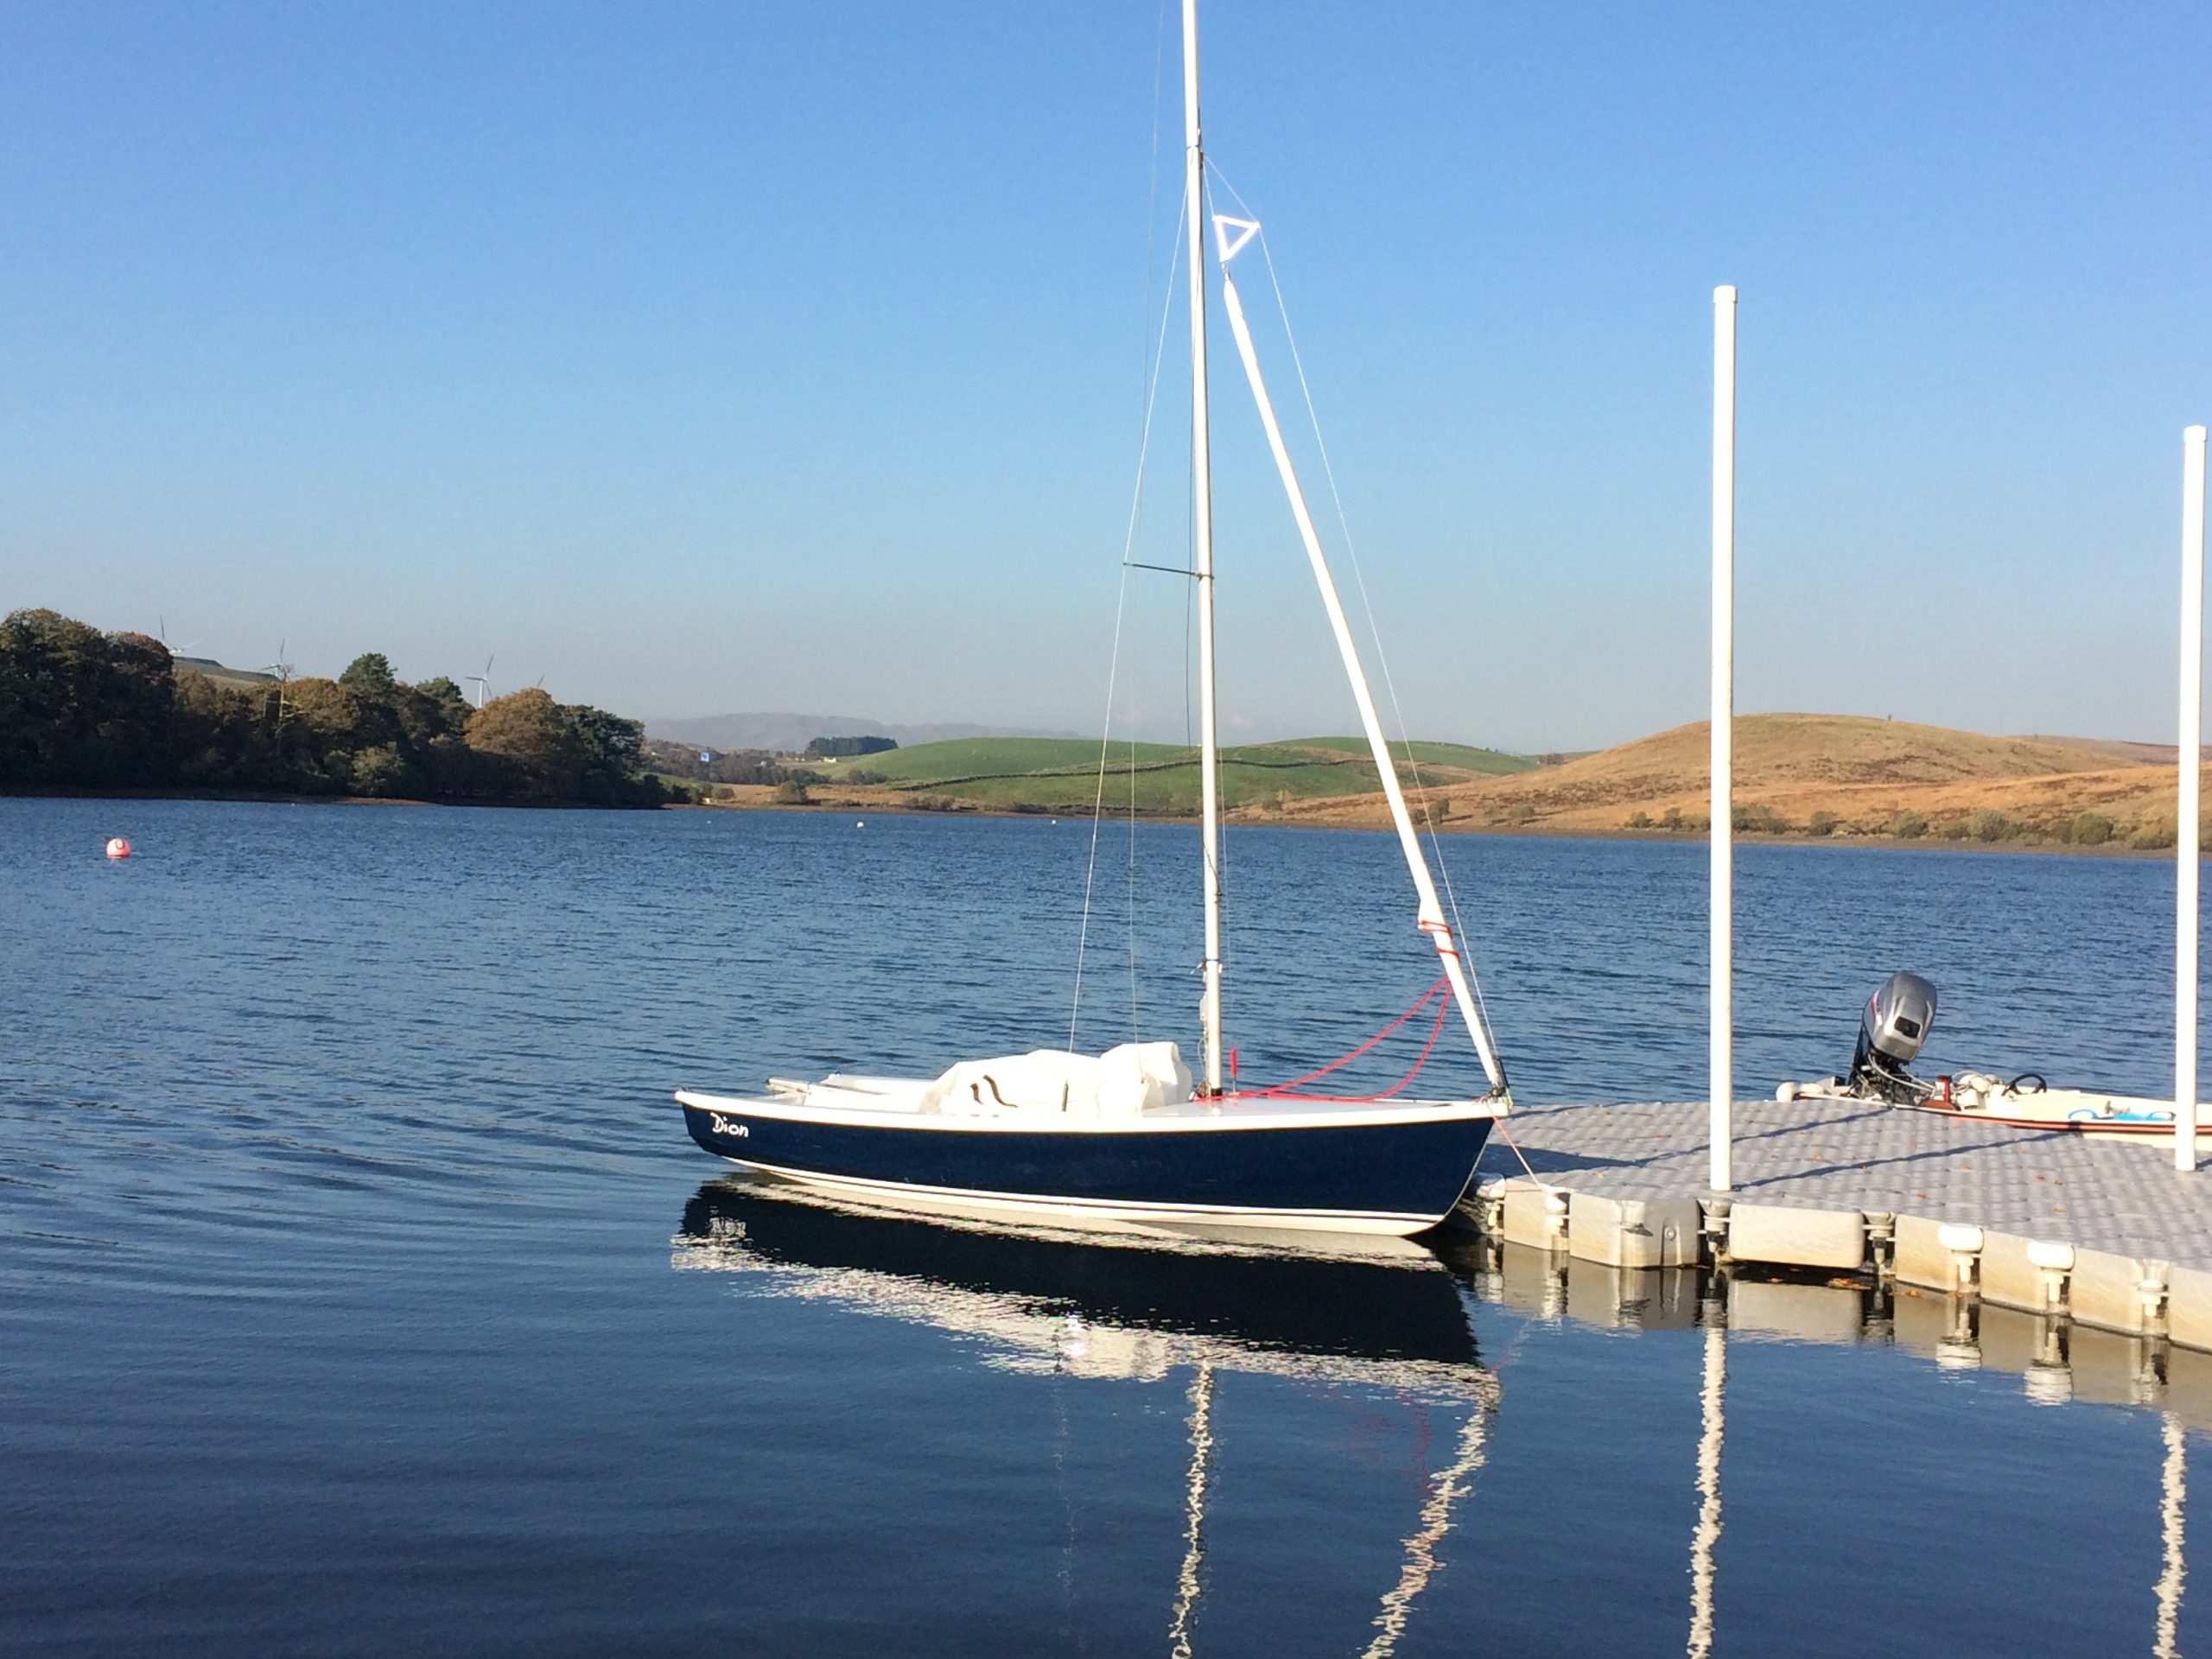
<p>The job was finished a week or so later, when I was sure everything had cured off, been re-painted, self bailer re-fitted and everything cleaned and polished up. I then took Dion for a test dip and sail back at Killington.</p>
<p>I was so relieved as I pulled her out of the water and removed the drain bung. Just to hear and feel the normal whoosh of air coming out of the bung hole and on tipping her bow up and removing the main hatch on the transom everything inside was nice and dry.</p>
<p>I had a relaxed drive home, pleased with myself knowing the work I had done had been successful and once home I had a wee dram just to celebrate.</p>